Showing posts with label 2011 Layouts. Show all posts

Friday, November 25, 2011

Sketch time

Here is my take to Sketchabilities Sketch #59. One thing I love about sketches is that it removes the guesswork with regards to placement of photos and embellishment. You can still own the layout by twisting or tweaking it a little bit and incorporating your own style and design.


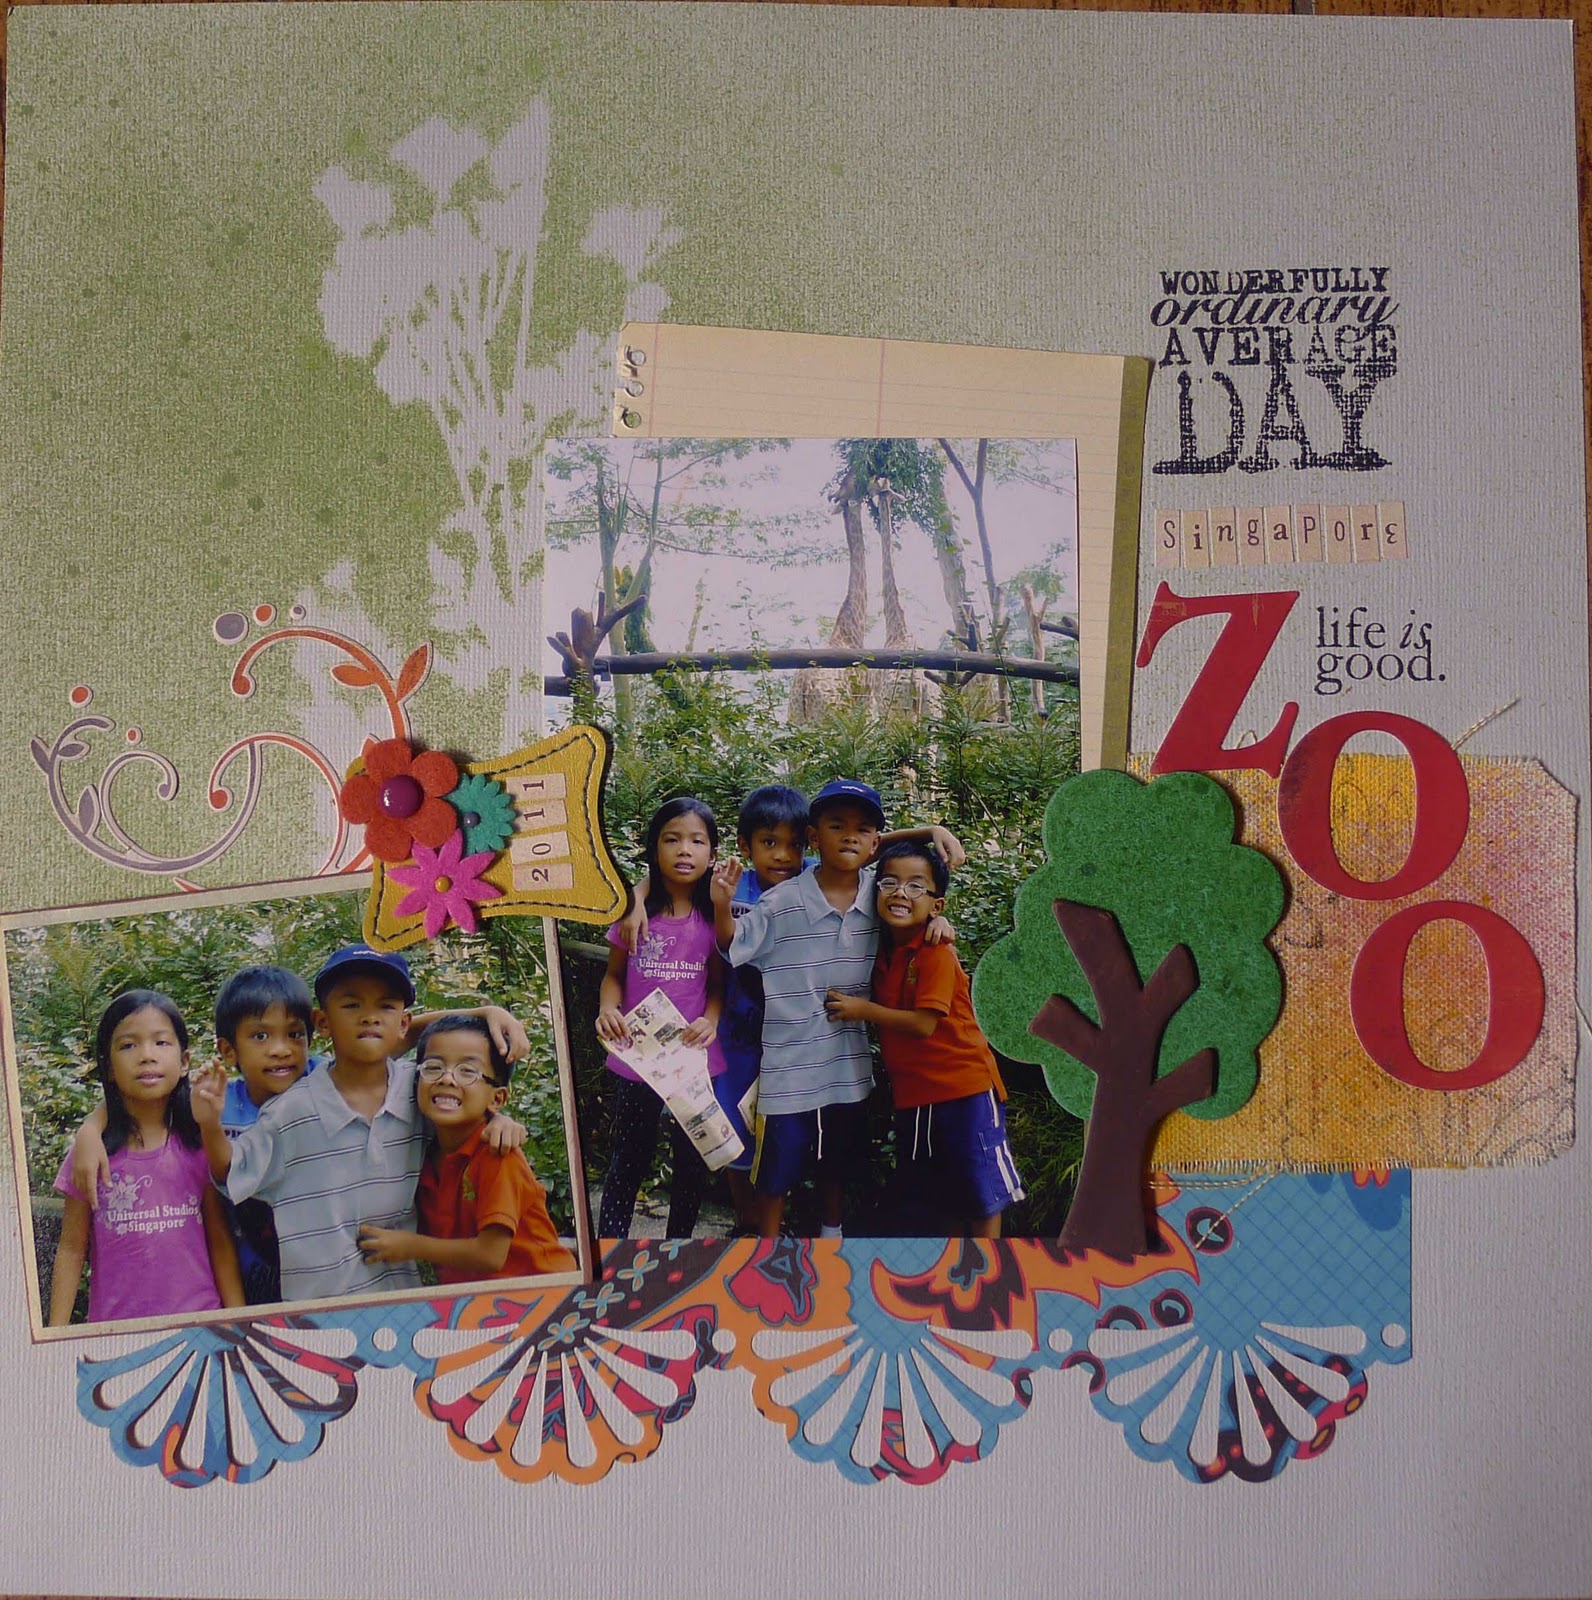
Too bad the lighting is not so good while I took a picture of my layout. All my recent layouts reveal my love affair with washi tape. It is my go to stuff right now when I wanted to add some dimension in my page. Another thing I love doing lately is misting and painting, a technique I used to alter the die cut leaf and the doily paper.

Did you see that canvass plate painted with glimmer glam?

Creative process:
1. Die cut a corrugated board and paint with acrylic paint, mists and shimmerz.
2. Adhere washi tape, papers as mat.
3. Die cut a canvass plate and paint with glimmer glam
4. Mist the doily paper with maya road mist.
5. Adhere altogether and finish of with swirls.

Monday, November 21, 2011

Shhh...

This blog is on  a sleep mode so better be quiet...
-ber months are really busy mostly with school and church activities and some things really had to go.
But still, I am able to squeeze in some scrapping in between.

Most supplies from this layout is from my leftover during the Scrap Buffet by Studio Azul. This time, we were allowed to bring home leftover papers and embellishments that are on our table. How cool is that.

Creative Process:
1. Use patterned paper for background.
2. Cut the postage paper from Making Memories and layer to serve as mat.
3. Adhere washi tapes, chipboards and stickers all over.


Thursday, October 20, 2011

Cramming

i hate cramming but i often do it all the time.when will i learn my lesson? now i am cramming for the second quarter exam worksheet for my two boys, but let me sneak to share this.


I love how mask and stencils can create dimension in you page. For this page, I used Crafter's Workshop Mums stencil.

Creative process:
1. Position the mask in the paper and do the misting.
2. Punch a border in a scrap paper.
3. Mat photos using Making Memories Noteworthy journalling tabs
4. Apply rubon and adhere the remaining photos.
5. Use TH tiny attacher to adhere the title.
6. Finish off by stamping and embellishing with flowers and swirls.

Saturday, October 1, 2011

Scrappy Saturday: Sketches for You

I joined Sketches for You's End of Summer Sketch A Thon. Designers will post a sketch, but the challenge is to follow either fall, school and summer themes. And here are my takes.

Sketch 1:
Look at my very onw mistable canvass tag.

Sketch 2:


 I have two interpretations for Sketch 2. I just jove that Alpha Roller stamps...just perfect for my back to school photo.

Sketch 9:


Sketch 7:


There were a total of 15 sketches and I was able to churn out on 4.

Saturday, September 24, 2011

Scrappy Saturday: Scrap Lauriat


I joined Scrap Lauriat which was organized by Studio Azul and Visual Creations. It was a whole day scrapping activity and glad that someone takes care of our rice store, Camaso Rice Dealer, that I can schedule weekend activities, either with the family or simply a me time activity. Scrap Lauriat is so fun, each participant were given a kit to start with and different embellishments, from flowers, alphas, rub on, stickers, chipboards, etc, were provided in our table. Once a participant completes two layouts, she is entitled to get 5 sheets of paper from the paper station and when a table completes 10 layouts, 8 in our case since there are only 4 of us in the table, we get to pick 5 embellishments from the cart. My goal is to complete at least 10 layouts which will bring my total number of layouts to 50 for the year but I was able to complete 12 layouts during the Lauriat, with work in progress mini album and a take home of paper packs and embellishments.


Thursday, September 1, 2011

Warm Up

Last two nights and it will be the most awaited event for scrappers here in the Philippines - the Studio Azul and Visual Creations Scrapbook Laureat. It's gonna be this Saturday at Cameron Hall, North Forbes Park. This event has been announced for months already so that means I have time to prepare. For several weeks now, I have been going through my photos and sketch blogs to prepare.

This Monday, I tried to do a layout. I pulled out my papers and photos. The paper I had is a little bit challenging because of the bold design, which does not perfectly match my photo. Then I remembered this sketch

from My Creative Sketches . This is the debut sketch for the blog and tada...here is what I came up with, in 30 minutes or less. First time to finish a layout in a short span of time. Thanks to sketches.


Just when I thought the layout is done, I had to come back and sprinkle the flowers and the title with Bedazzles and Ranger Glossy Accent. Cool way to add dimension to your project.

Monday, August 29, 2011

Scrappy Saturday

Of course this should have been posted last Saturday, however, it is already late posting due to my commitments over the weekend. As promised, I try to post layouts every Saturday and try to share some tips on how I made the layout. Maybe someday, I will have the chance to take a picture of the work in progress layout. This layout has several elements I love, the misting and masking, stamping and embossing, use of Bedazzles, use of Tim Holtz die cuts, which suits perfectly because this is a travel layout. The Old Jalopy die cut was sent by Isabel from Yellow Violet House along with the die I ordered from her. I had to dress up the die cut to give it dimension.


My creative process:
1. Using Prima mask and Studio Calico Mister Huey Mist, I created the swirl background.
2. Stamp TH stamp and embossed with a white embossing powder.
3. Stamp TH script stamp using Distress Ink Pad.
4. Mat the photo with a patterned paper.
5. Tear a strip of paper for the background.
6. Punch a strip of paper for the border.
7. Randomly apply two colors of perfect pearls using embossing ink.
8. Die cut fence shape and apply distress ink and randomly apply distress embossing powder
9. Apply glossy or sepia accents randomly to serve as adhesive and sprinkle bedazzles on the glossy accents.
10. Adhere lace.

Thank you for looking...Detailed photos below...


Saturday, August 13, 2011

Scrappy Saturday

Here is another layout I finished. I actually have 2 versions of this photo. One goes to each album for the boys. Kuya is just so sweet sharing ice cream to Joie..
Most of the papers are from Studio Azul kit.

Here's the step in doing this layout.
1) Lay Prima mask and using Maya Mist spray, spray randomly on the mask.
2) Alternately adhere the Basic Grey and Making Memories alternate. Punch the edges for dimension.
3) Arrange the photos.
4) Cut the Hambly transparency.
5) Adhere the Fancy pants felt from the kit.
6) Stamp and heat emboss Fontwerks label stamp.
7) Adhere the alphabet stickers and American Crafts Thickers for the title.
8) Stamp Prima (from the kit) and Ali Edwards word stamps.
9) Adhere Daisy D's rubons (from the kit)

Saturday, August 6, 2011

And am back scrapping

I just found myself scrapping for the past few days. Thought I'd better put my stuff to use rather than let them collect dust. It seems it is a man's innate characteristic that we can create or rather recreate something good and wonderful because after all, we are created in God's image and the very nature of God who made all these wonderful things around us is within us.

Found myself a little bit challenged with the papers I used in this layout as they are rather old and I cannot find much inspiration around using these papers. This is still one of the Studio Azul's kit left unopened in my stash. And this very well fits into Use It Tuesday's Two-fer challenge where you have to make a project out of two hoarded items.


Here's how I did this page:
1. Punch the edges of Basic Grey and Making memories papers.
2. Alternately adhere the papers to the cardstock
3. Using an old book page as a photo mat so that picture will stand out from the busy background paper.
4. Apply gesso to the chipboard and randomly paint with brown paint.
5. Randomly stamp with embossing ink and sprinkle embossing powder.
6. Randomly stamp with Ali Edwards stamp.
7. Finish with title, journalling and embellishment.